Apple Crisp Storage: How to Freeze & Enjoy Later
Few desserts capture the essence of comfort quite like a warm, bubbling apple crisp. With its tender, spiced apple filling and irresistible crunchy oat topping, it's a timeless classic perfect for any season, especially fall. Whether you're a seasoned baker or just discovering the joy of a homemade treat, a good apple crisp recipe is a staple. But what happens when you've baked a generous batch, and those delicious leftovers are calling your name days or even weeks later? The good news is, you absolutely can preserve that comforting goodness! This guide will walk you through everything you need to know about storing your apple crisp, from short-term refrigeration to long-term freezing, ensuring you can enjoy this delightful dessert whenever a craving strikes.
The Allure of a Perfect Apple Crisp: Beyond Just a Recipe
What makes an apple crisp truly unforgettable? It's a symphony of textures and flavors that's surprisingly easy to achieve. Imagine warm, tender apple slices, perfectly sweetened and kissed with cinnamon, peeking out from under a golden-brown, crumbly oat topping. It's a dessert that often outshines its fancier counterparts in sheer comforting appeal. While the final product is a delight, it all begins with selecting the right ingredients and following a solid apple crisp recipe.
The foundation of any great crisp is, naturally, the apples. You'll want about 10 cups of peeled, cored, and sliced apples. For the best results, aim for all-purpose varieties that hold their shape well during baking. Sweet Honeycrisp or Fuji apples offer a delightful flavor, while crisp Granny Smiths provide a pleasant tartness and maintain their structure beautifully. Other excellent choices include Rome, Cortland, Empire, Gala, or Braeburn apples. Whatever variety you choose, remember that peeling and coring are essential; apple skins can become unpleasantly tough during baking and won't melt into the filling as nicely as they do in some other fruit desserts.
Beyond the fruit, a classic apple crisp recipe typically calls for a few key ingredients to create its magic:
- Sugars: Often a combination of white sugar for the apple filling and brown sugar for that rich, caramelized topping.
- Flour: All-purpose flour thickens the apple filling and helps bind the topping together.
- Cinnamon: The quintessential spice that perfectly complements apples, lending a warm, inviting aroma and flavor.
- Oats: The heart of the "crisp"! We'll delve into oat types shortly.
- Leaveners: Baking soda and baking powder are sometimes used in the topping to give it a lighter texture.
- Butter: Melted butter infuses the topping with a rich, irresistible flavor and helps create that desirable crumbly texture.
Making apple crisp is often considered much simpler than baking a pie. There's no fussy crust to roll out – just scatter your delightful topping over the prepared fruit and let the oven do the rest. The result is a more forgiving dessert that still delivers maximum impact, especially when served with a scoop of vanilla, cinnamon, or caramel ice cream, or a dollop of fresh whipped cream. For those who want to perfect their topping, explore tips in our article: Easy Apple Crisp: Master the Perfect Crunchy Oat Topping.
Oat Selection: Quick-Cooking vs. Old-Fashioned
A crucial decision in any apple crisp recipe is the type of oats for the topping. Some recipes, like the one in our reference, call for quick-cooking oats, which can result in a softer, more integrated topping. However, many bakers, including those from Martha Stewart's test kitchen, advocate for old-fashioned oats. Old-fashioned oats yield a chewier, more substantial crumble, creating the distinct crunchy and chunky topping desired by many. Using quick-cooking or instant oats can sometimes lead to a mushy texture in the topping, so choose wisely based on your preference. For a deeper dive into this topic, check out: Quick-Cooking vs. Old-Fashioned Oats: Best for Apple Crisp?
How to Store Apple Crisp for Short-Term Freshness
You've just pulled a gorgeous apple crisp from the oven, its aroma filling your kitchen. After enjoying that first warm, blissful serving, you're inevitably left with leftovers. Proper short-term storage is key to maintaining quality and freshness for the next day's treat.
The most important step before any storage is to allow your apple crisp to cool completely. Attempting to cover or refrigerate a warm crisp will trap steam, leading to a soggy topping and potentially accelerating spoilage. Once it has reached room temperature:
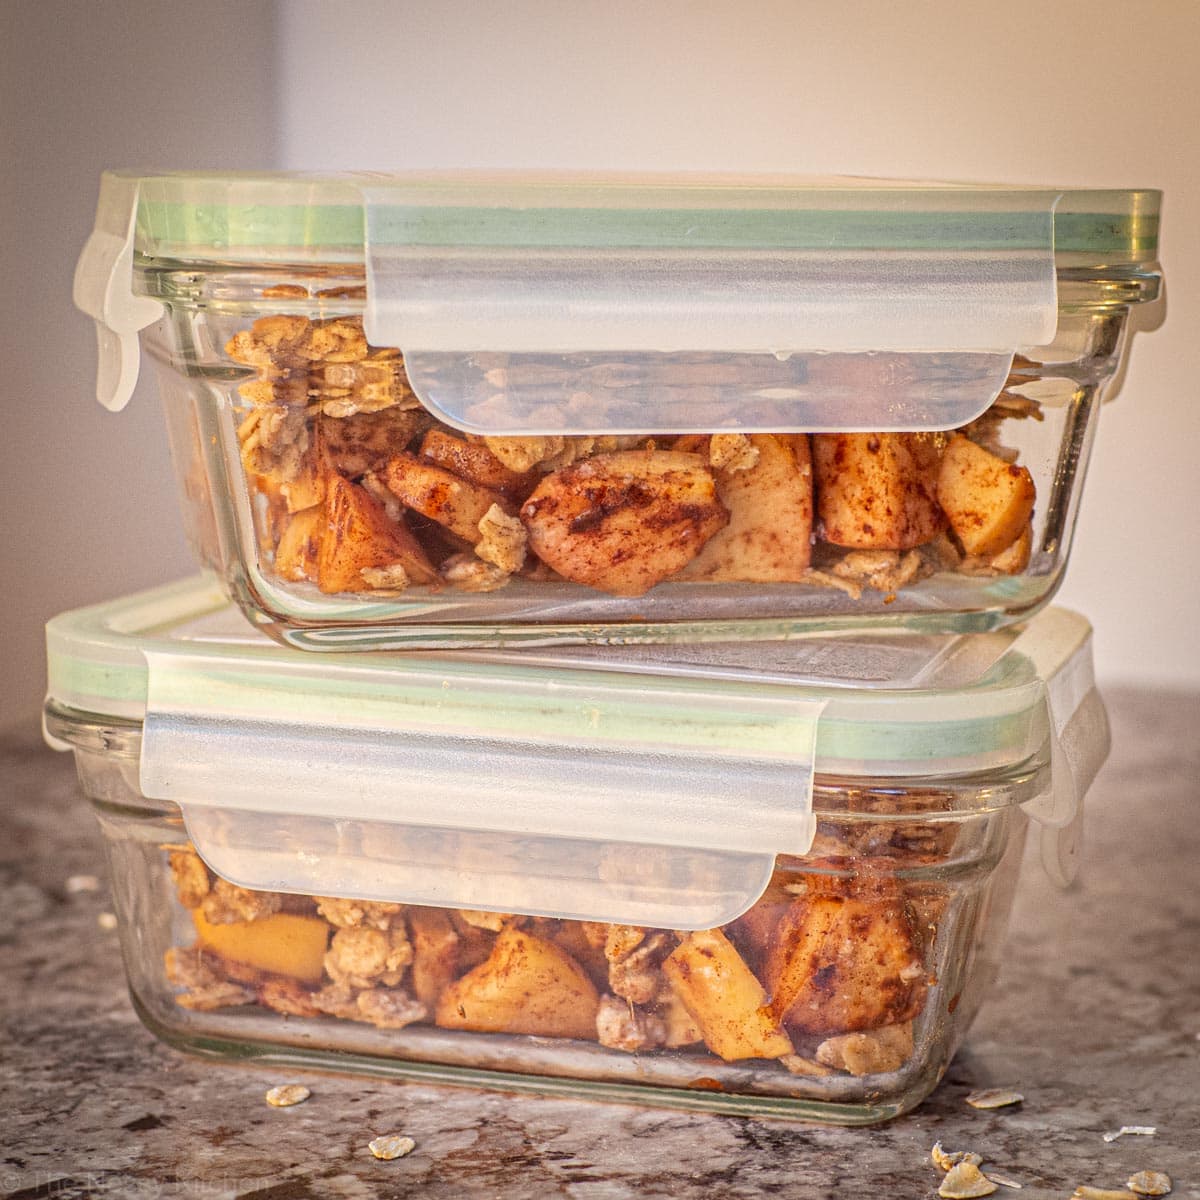
- Transfer or Cover: If the crisp is in a serving dish, you can simply cover the dish tightly with aluminum foil or plastic wrap. For individual portions or smaller amounts, transfer the leftovers to an airtight container.
- Refrigerate: Place the covered crisp or container in the refrigerator.
- Duration: Apple crisp will stay fresh in the refrigerator for about three days. Beyond this, the quality of the apples and the crispness of the topping will start to decline.
When you're ready to enjoy refrigerated crisp, you can reheat it in the oven at a low temperature (around 300°F or 150°C) until warmed through, which will help bring back some of the topping's crunch. Alternatively, individual portions can be quickly microwaved, though this method will soften the topping significantly.
Freezing Apple Crisp: Your Guide to Long-Term Enjoyment
One of the best ways to enjoy your delicious apple crisp recipe long after it's baked is to freeze it. This is a fantastic option for meal prepping desserts, making gifts, or simply ensuring you always have a comforting treat on hand. The good news is, apple crisp freezes beautifully, especially when prepared with freezing in mind.
Preparing Your Crisp for Freezing
For optimal results when freezing, the consensus among bakers is to bake your apple crisp first. The reference context strongly suggests this, recommending baking it in a foil pan from the start if freezing is your plan. Baking first ensures the apples are tender and the topping is fully cooked and set, which helps prevent a mushy texture upon thawing and reheating.
Here’s how to freeze your baked apple crisp:
- Bake in a Freezer-Safe Dish: If you intend to freeze the entire crisp, baking it directly in a disposable aluminum foil pan is highly recommended. This makes packaging and transferring much easier. If using a ceramic or glass dish, ensure it's freezer-safe to prevent cracking from temperature changes.
- Cool Completely: This step cannot be overstated. Just like with refrigeration, the crisp must be completely cool before freezing. Any residual warmth will create condensation, leading to ice crystals and a soggy topping. Allow it to sit at room temperature for several hours, or even overnight if necessary.
- Wrap Tightly: This is critical for preventing freezer burn and maintaining quality.
- For an entire crisp in a foil pan: Wrap the entire pan tightly in a layer of plastic wrap (or freezer-specific storage wrap), ensuring no part is exposed. Then, add a second, outer layer of heavy-duty aluminum foil. The foil provides an extra barrier against odors and freezer burn.
- For individual portions: Once cooled, cut the crisp into individual servings. Wrap each portion tightly in plastic wrap, then place them in an airtight freezer bag or a rigid freezer-safe container. This allows for convenient thawing of single servings.
- Label and Date: Always label your frozen crisp with the contents (e.g., "Apple Crisp") and the date it was frozen. This helps you keep track of its freshness.
- Freeze: Place the properly wrapped crisp in the freezer. It will maintain its quality for up to three months. While it might still be safe to eat after this period, the texture and flavor may start to degrade.
Enjoying Your Frozen Apple Crisp: Reheating for Perfection
The true reward of freezing apple crisp comes when you can effortlessly pull it out of the freezer and transform it into a fresh-tasting dessert once more. Proper thawing and reheating are essential to recapture that comforting texture and flavor.
Thawing Instructions
For the best results, always thaw your frozen apple crisp gradually:
- Overnight in the Refrigerator: This is the preferred method for an entire crisp or larger portions. Transfer the wrapped crisp from the freezer to the refrigerator and allow it to thaw overnight (8-12 hours).
- Room Temperature (Smaller Portions): Individual, smaller portions can thaw at room temperature for 1-2 hours, but ensure they are still covered to prevent drying out.
Avoid thawing on the countertop for extended periods, especially for larger crisps, to prevent food safety issues.
Reheating Instructions
The goal of reheating is to warm the apples through and, crucially, to restore the crispiness of the topping. The oven is your best friend here:
- Preheat Oven: Preheat your oven to 350°F (175°C).
- Prepare for Reheating: If reheating an entire crisp in a foil pan, remove the plastic wrap, but leave the foil on during the initial phase of reheating to prevent the topping from over-browning. If reheating individual portions, transfer them to an oven-safe dish.
- Reheat (Covered): Place the crisp in the preheated oven. For a whole crisp, start with the foil cover on for about 20-30 minutes, or until the apples are warmed through.
- Crisp the Topping: Remove the foil cover and continue baking for another 10-15 minutes, or until the topping is golden brown and crisp again. Keep a close eye on it to prevent burning. If reheating individual portions, this uncovered baking time might be slightly shorter, around 5-10 minutes.
- Check for Doneness: The crisp is ready when the apple filling is bubbling gently and the topping has regained its desired crunch.
If you're in a hurry and only reheating a single portion, you can use a microwave, but be aware that the topping will likely remain soft, losing its crisp texture.
Once reheated, serve your apple crisp just as you would a freshly baked one: warm, perhaps with a scoop of vanilla bean ice cream, a dollop of fresh whipped cream, or a drizzle of easy homemade caramel sauce. The difference will be almost imperceptible, allowing you to enjoy this beloved dessert as if it were just pulled from the oven.
Conclusion
There's no denying the simple pleasure of a perfectly made apple crisp. Knowing how to properly store and freeze this delightful dessert means you never have to let a single crumb go to waste. From short-term refrigeration to long-term freezing, these simple steps ensure that the warm, tender apples and crunchy oat topping of your favorite apple crisp recipe can be enjoyed days, weeks, or even months after baking. So go ahead, bake an extra batch, prepare it for the freezer, and savor the convenience and comfort of having this classic treat always within reach, ready to be reheated and enjoyed at a moment's notice.
