Mastering the Perfect Easy Apple Crisp: Your Guide to a Heavenly Dessert
There are few desserts as comforting, timeless, and utterly delicious as a warm apple crisp. Imagine sinking your spoon into a dish filled with tender, spiced apples, crowned with a golden, crunchy oat topping that shatters with every bite. It’s a symphony of textures and flavors, made even better with a melting scoop of vanilla ice cream. While its impressive appearance might suggest a complicated endeavor, mastering an easy apple crisp recipe is surprisingly straightforward – and we're here to show you how.
Forget the fuss of pie crusts; apple crisp offers all the warmth and fruit-forward flavor of a classic apple pie without any of the intimidation. It’s the quintessential dessert for fall evenings, holiday gatherings, or simply when you crave a sweet treat that feels like a hug in a bowl. Our guide focuses on achieving that irresistible, perfect crunchy oat topping, ensuring every spoonful is pure bliss.
Why Apple Crisp Reigns Supreme in Simplicity and Flavor
The allure of apple crisp lies in its deceptive simplicity. Unlike its more demanding cousin, the apple pie, there's no need to meticulously roll out and crimp a delicate crust. Instead, you simply prepare a vibrant apple filling and scatter a crumbly oat topping over the top before baking. This makes it a perfect choice for bakers of all skill levels, allowing you to whip up an impressive dessert with minimal stress.
Beyond its ease, apple crisp delivers on flavor. The natural sweetness and subtle tartness of baked apples, infused with warm spices like cinnamon, create a deeply satisfying base. The topping, a magical blend of oats, flour, sugar, and butter, transforms in the oven into a golden, caramelized marvel – simultaneously crisp and chewy. This delightful contrast between the soft, bubbling fruit and the crunchy exterior is what makes apple crisp an enduring favorite. It's a dessert that speaks of home, comfort, and the joy of simple, wholesome ingredients coming together in perfect harmony.
Essential Ingredients for Your Perfect Apple Crisp
Crafting an outstanding apple crisp begins with selecting the right ingredients. Each component plays a vital role in achieving that coveted balance of flavor and texture.
- Apples: You'll need about 10 cups of peeled, cored, and sliced apples. The type of apple you choose greatly influences the final texture and taste. For a sweeter crisp, opt for varieties like Honeycrisp or Fuji. If you prefer a tart contrast that holds its shape beautifully during baking, Granny Smith apples are an excellent choice. Many bakers love to combine both sweet and tart apples for a more complex flavor profile. Varieties like Rome, Cortland, Empire, Gala, or Braeburn are also fantastic all-purpose options. Pro Tip: Always peel and core your apples for crisp. The skin becomes unpleasantly tough when baked and doesn't melt into the filling as desired.
- Sugars: Our recipe calls for both white sugar for the apple filling, providing clean sweetness, and rich brown sugar for the topping, which adds depth, moisture, and aids in caramelization.
- Flour: All-purpose flour is key. In the filling, it acts as a thickener, ensuring your crisp isn't watery. In the topping, it provides structure, helping to create that wonderfully crumbly texture.
- Cinnamon: A teaspoon of ground cinnamon is the classic warming spice that perfectly complements apples. For an extra layer of complexity, consider adding a tiny pinch of nutmeg or allspice.
- Oats: This is where the "crisp" truly comes from! The choice of oats can subtly alter the texture of your topping. Some recipes prefer quick-cooking oats for a softer, more uniform crumble, while others champion old-fashioned rolled oats for a chunkier, chewier, and undeniably crisper topping. The debate is real! For a deep dive into this crucial decision, explore our detailed guide: Quick-Cooking vs. Old-Fashioned Oats: Best for Apple Crisp?
- Leaveners: A touch of baking soda and baking powder in the topping contributes to its light, airy, and ultimately crispy texture.
- Butter: Melted butter is essential for the topping. It binds the dry ingredients together, adds a crucial richness, and is fundamental to achieving that golden, caramelized crunch we all crave.
Step-by-Step Guide to Crafting Your Perfect Crisp
Ready to transform these simple ingredients into a show-stopping dessert? Follow these easy steps to create an apple crisp that will earn rave reviews.
- Prepare Your Workspace and Oven: Begin by gathering all your ingredients, ensuring everything is prepped and within reach. Preheat your oven to 350 degrees F (175 degrees C). This ensures your crisp starts baking immediately at the correct temperature, promoting even cooking and a perfect crust.
- Assemble the Apple Filling: Take your 10 cups of peeled, cored, and sliced apples and arrange them evenly in a 9x13-inch baking dish. In a small bowl, whisk together the white sugar, 1 tablespoon of all-purpose flour, and the ground cinnamon. Sprinkle this mixture evenly over the apples. Finally, pour 1/4 cup of water gently over the apples. You can lightly toss the apples to ensure they are well coated, though this isn't strictly necessary as the liquids will distribute during baking.
- Craft the Crunchy Oat Topping: In a large bowl, combine your oats (whichever type you chose!), 1 cup of all-purpose flour, the brown sugar, baking powder, and baking soda. Mix these dry ingredients thoroughly. Now, pour in the melted butter. Using a fork, vigorously mix the butter into the dry ingredients until the mixture resembles coarse crumbs and is evenly moistened. This "crumbly" texture is precisely what you want for that signature crisp topping. Don't overmix to a paste; aim for distinct crumbles.
- Top and Bake: Evenly sprinkle the crumbly oat topping over your prepared apple mixture in the baking dish. Ensure the apples are mostly covered to guarantee a beautiful golden crust in every bite. Place the dish in your preheated oven.
- Bake to Golden Perfection: Bake for approximately 45 minutes. You'll know your apple crisp is ready when the apple filling is visibly bubbling around the edges, and the oat topping has turned a gorgeous golden brown, appearing crisp and caramelized.
- Cool and Serve: Once baked, carefully remove the crisp from the oven. While it's tempting to dig in immediately, allow it to cool for at least 10-15 minutes. This cooling period allows the filling to set slightly and the flavors to meld, preventing it from being too runny and ensuring the topping retains its crispness.
Tips for Serving, Storing, and Elevating Your Dessert
Your freshly baked apple crisp is a masterpiece in itself, but a few final touches can take it from fantastic to unforgettable.
Serving Suggestions
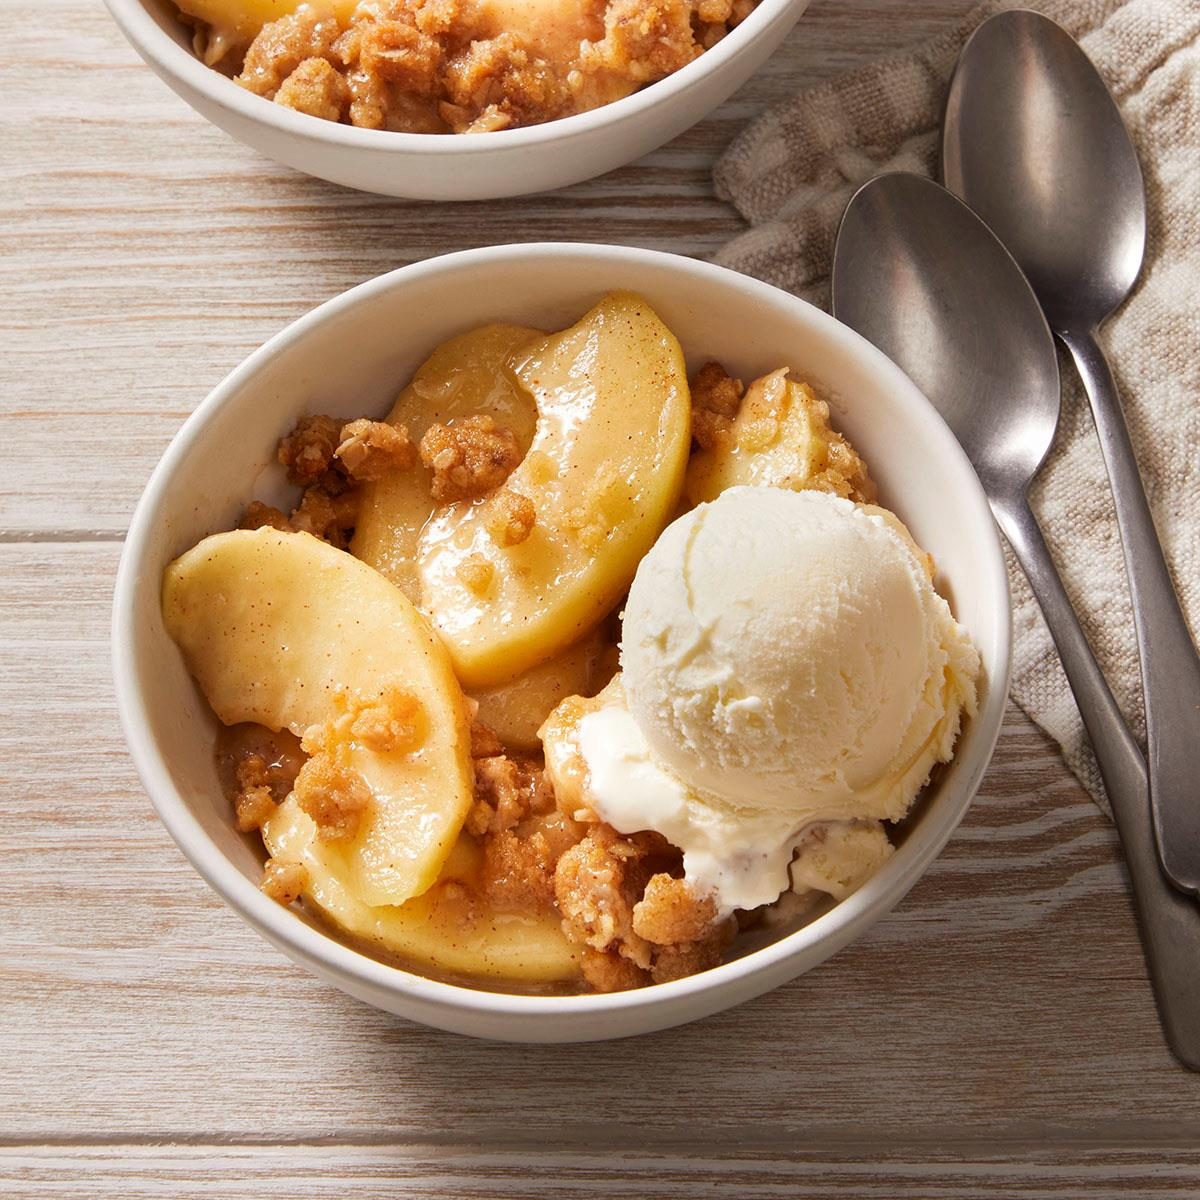
- The Classic Scoop: A generous scoop of vanilla ice cream atop a warm serving of apple crisp is non-negotiable for many. The cold, creamy ice cream perfectly contrasts the warm, tender apples and crunchy topping.
- Flavor Enhancers: For a twist, try cinnamon or caramel ice cream. A dollop of freshly whipped cream also makes for a lighter, elegant accompaniment.
- Gourmet Touch: Drizzle your crisp with an easy homemade caramel sauce right before serving to truly impress your guests.
- Autumnal Garnish: A sprinkle of toasted pecans or walnuts over the topping just before serving adds extra crunch and a nutty aroma.
Storing Leftovers and Freezing for Later
Apple crisp is a wonderful dessert that can be enjoyed for days, or even months, after baking.
- Refrigeration: Allow any leftover crisp to cool completely to room temperature. Transfer it to an airtight container or simply cover the baking dish tightly with aluminum foil or plastic wrap. Store in the refrigerator for up to 3 days. Reheat gently in the oven or microwave for best results.
- Freezing: Yes, you can absolutely freeze apple crisp! If you plan to freeze it, consider baking it directly in a foil pan for easy transfer. Once baked and completely cooled, wrap the entire dish tightly in a layer of plastic storage wrap, followed by a layer of heavy-duty aluminum foil. This double-layer protection helps prevent freezer burn. Frozen apple crisp can be stored for up to three months. When ready to enjoy, thaw overnight in the refrigerator and reheat in the oven until warmed through. For more in-depth advice on keeping your crisp fresh, check out our guide: Apple Crisp Storage: How to Freeze & Enjoy Later.
Elevation Tips
- Spice It Up: Don't be afraid to experiment with other warm spices. A pinch of ground ginger, cardamom, or even a tiny grating of fresh nutmeg can add intriguing dimensions to your apple filling.
- Add a Zest: A teaspoon of fresh lemon zest added to the apple filling can brighten the flavors and add a subtle tang.
- Nutty Crunch: Incorporate 1/2 cup of chopped pecans or walnuts into your oat topping mixture for an extra layer of texture and nutty flavor.
Conclusion
There you have it – your comprehensive guide to mastering the easy apple crisp recipe with that irresistible crunchy oat topping. This dessert is more than just a sweet treat; it's a celebration of simple pleasures, comforting aromas, and the joy of homemade goodness. From selecting the perfect apples to achieving that golden, crumbly topping, every step is designed to be straightforward and rewarding. So, preheat your oven, gather your ingredients, and get ready to create a dessert that will delight your senses and gather loved ones around the table. Happy baking!